How to Crop a Shape in Figma
Figma, a powerful design tool, offers a plethora of features that can elevate your design projects. Among these is the ability to crop images to specific shapes, a skill that can bring both creativity and precision to your work. This blog post will guide you through a straightforward process to crop a shape in Figma efficiently. We will cover the essential steps: adding an image to your canvas, drawing a shape to crop to, masking the image, and adjusting the crop. Additionally, we’ll address common mistakes to avoid, ensuring that your designs are both flawless and compelling. So, let’s dive into this essential skill that every Figma user should master.
Step 1: Add an Image to Your Canvas
The first step in cropping a shape in Figma is to add the image you want to work with to your canvas. To do this, start by navigating to the “File” menu and selecting “Place Image” or simply drag and drop an image file directly from your computer onto the Figma canvas. This flexibility makes it easy to bring any photo or graphic element into your design quickly.
Once your image is placed on the canvas, you can reposition or resize it by using the selection tool. Make sure your image covers the area you intend to crop to your shape. You can also leverage Figma’s align and distribute functions to precisely position the image relative to other elements on your canvas.
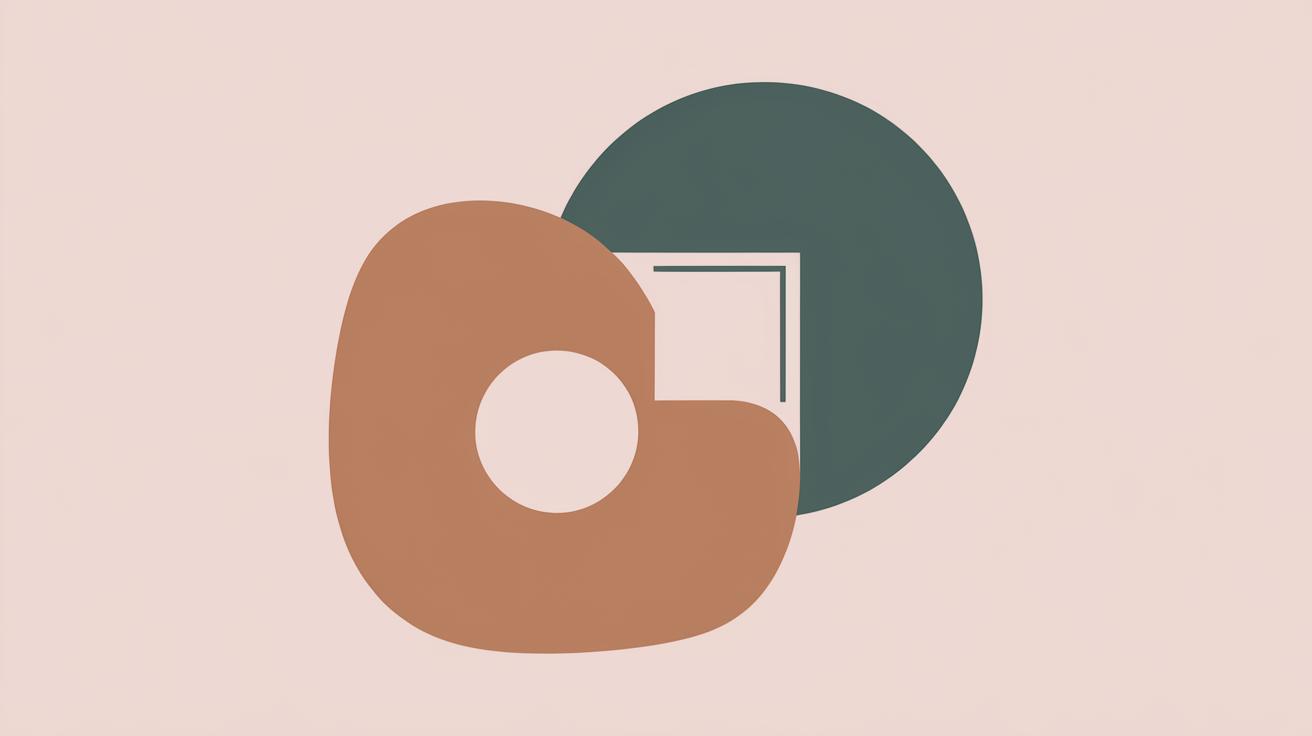
Step 2: Draw a Shape to Crop To
With your image ready, the next step is to create the shape that will serve as the mask for your crop. Use Figma’s shape tools to draw a rectangle, circle, polygon, or any custom vector shape that matches your design intent. Shapes can be manipulated using Figma’s pen tool, allowing for custom and intricate mask designs.
Ensure that the shape is placed above the image layer in the layers panel. This order is crucial as Figma uses the top-most selected element as the mask. Resize the shape so that it accurately encompasses the portion of the image you wish to display, and feel free to rotate or alter the shape for creative effects.
Step 3: Mask the Image to the Shape
To mask the image to your shape, select both the image and the shape layers by holding the “Shift” key and clicking on each element. Once both elements are selected, right-click and choose “Use as Mask” from the context menu. Alternatively, you can find the “Use as Mask” option under the “Object” menu in the top menu bar.
This action will immediately crop your image to the boundaries of the shape, and the shape will act as a mask, hiding any excess part of the image outside its borders. The great thing about Figma’s mask feature is that it is non-destructive, meaning you can always move or modify the elements within the mask group.
Step 4: Adjust the Crop
Once you have applied the mask, you might want to make some adjustments to fine-tune your crop. You can do this by double-clicking inside the masked group, which will allow you to modify both the shape and the image independently. Use this feature to reposition the image within the masked area or reshape the mask for a better fit.
Remember, while still in editing mode, you can adjust the opacity, add effects, or manipulate colors for further customization. Figma’s powerful adjustments ensure that your cropped shape not only meets the intended design but also enhances the overall visual appeal of your project.
Common Mistakes to Avoid when Cropping Shapes in Figma
A frequent mistake when using masks in Figma is placing the image layer above the shape layer, leading to unexpected results. Remember, the mask layer should always be on top in the layers panel. This hierarchy is crucial for the mask to perform effectively.
Another common lapse is not re-entering the masked group after altering designs, which can lead to misaligned elements or unintentional errors in cropping. Always ensure that each part of your masked group is exactly as you envision by double-checking and adjusting as needed before finalizing your design.
The Bottom Line
Cropping a shape in Figma is an essential skill that enhances your design capabilities. By following this structured process—adding an image, drawing a shape, applying a mask, and making necessary adjustments—you can achieve precise and compelling results. Being mindful of common mistakes ensures a smoother workflow and a more polished final product. Happy designing!
| Step | Description |
|---|---|
| Add an Image to Your Canvas | Upload and position an image on your Figma canvas as the first step. |
| Draw a Shape to Crop To | Create the desired shape to define the cropping mask around the image. |
| Mask the Image to the Shape | Select both the shape and image, using the shape as a mask to crop the image. |
| Adjust the Crop | Modify and fine-tune the crop by editing both the image and shape within the mask. |
| Common Mistakes | Avoid layer misplacement and ensure precise edits within the masked group. |